First posted: Apr 27, 2020
Homemade Sourdough Bread
Hey friends!
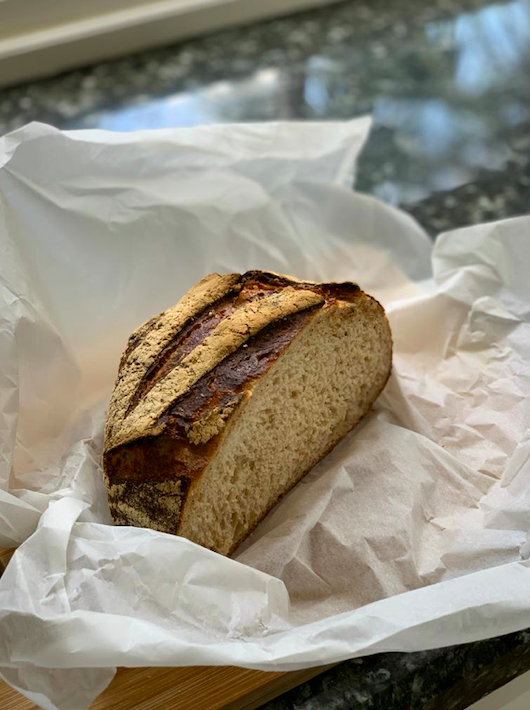
So by far one of our Lockdown highlights has been getting back on the Sourdough Bread bandwagon, and boy am I glad we did. A fresh loaf every other day has brought an inordinate amount of cheer to our kitchen. What a magical thing a simple loaf of home made bread is.
A lot of you have asked for the recipe, and so here it is, explained as simply as I could distill it down to. It’s not that it’s difficult, it’s just that it’s a process, and requires a bit of time, love and care. Which I think is perfect for these strange and unprecedented times that we’re living in.
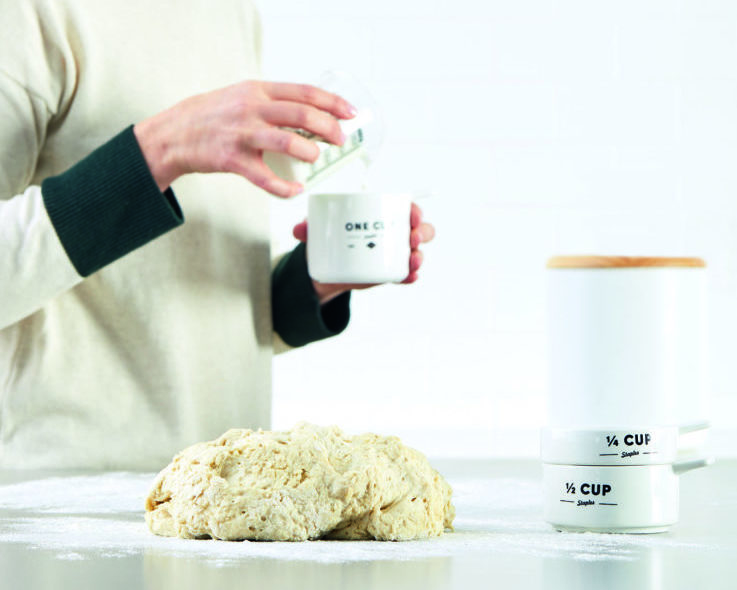
Just a note on the flours: Stone-ground, organic flour is going to give you much better results that over-processed, bleached flours because the chemicals can deter the growth of the starter.
Feel free to get in touch with any questions!
Also, because there is no point in reinventing the wheel, I turned to two favourites for their top tips and tricks and how they make beautiful loaves, and so the Sourdough starter recipe comes from Jamie Oliver, and the everyday bread recipe is adapted from they very wonderful Emilie Raffa.
And the pic is of one of our most recent loaves from my lovely friend Ceej Jenkins, thanks!
Ingredients
Cooks in: Serves:Makes 1 loaf
Sourdough Starter- 100g rye flour (or good quality, preferably organic, wholewheat flour)
- 100g bread flour
- 200ml warm water
- 100g warm water
- 100g strong white bread flour
- ¼ Cup active sourdough starter
- 1.5 Cups warm water
- 1 Tbsp honey
- 1 Cup wholewheat or rye flour
- up plain flour
- 1.5 Cup bread flour (brown or white)
- 1.5 tsp salt
What to do
Sourdough Starter 2. Take 50g of the starter (about 2 Tbsp) and in a wide shallow bowl add to it 100g warm water + 100g strong white bread flour, mix well and transfer to a glass jar with a lid. (Discard the rest of the starter or use it for pancakes if you like). 3. Repeat Step 2 every day for 5 days. 4. Day 6 your starter is ready to use. Basic Sourdough Bread Recipe 2. Add to the mixture 1 cup wholewheat or rye flour + 1.5 cups plain flour + 1.5 cups bread flour (brown or white) + 1.5 tsp salt and mix until you have a shaggy, wet dough. Cover with a damp cloth and leave to rise for 45 minutes – 1 hour 3. Overnight Bulk Fermentation: After the rising for 1 hour (above) work the dough into a rough ball, just folding and kneading gently for about 20 seconds, then cover again with a damp cloth and leave to rise on the kitchen counter overnight. It should be double its size the next morning. (OPTIONAL: Step 4. Stretch and Fold: gather a portion of the dough, stretch it upwards and then fold it over itself. Rotate the bowl ¼ turn and repeat this process until you have come full circle. Do this once or twice spaced an hour apart. Although this step is not mandatory, it will increase the total volume of your bread.) 5. Shape the Dough: Remove the dough from the bowl and place onto a lightly floured surface. Starting at the top, fold the dough over toward the center. Give it a slight turn, and then fold over the next section of dough. Repeat until you have come full circle. Then flip the dough over and place it seam side down. Using your hands, gently cup the sides of the dough and rotate it, using quarter turns in a circular motion. You can also pull it towards you to even out the shape. Repeat this process until you are happy with its appearance (it should be smooth and round with the ‘seam’ underneath). Leave to stand for 10 minutes (this allows a gentle ‘crust’ to form on the bread which helps it to hold its shape). 6. Second rise: Transfer the loaf, seam side UP, into a wide shallow bowl that is lined with a clean, dry dish cloth that you have dusted generously with flour. Cover with a damp cloth and leave to rise again for 1-2 hours. 7. Into the Pot: line the pot with baking paper and place the dough seam side UP 8. Pattern your Dough: Using a very sharp knife (I usually use my bread knife) make a shallow slash about ½ cm deep and 5cm long long in the center of the dough. 9. Baking: Pre-heat oven to 230°C and bake the bread with the LID ON for 20 minutes, then remove the lid and bake for a further 30 minutes or until deep, golden brown, then remove the bread from the pot and bake on the wire rack for a further 5-10 minutes. 10. Cooling: Remove the bread from the oven, and cool on a wire rack for at least an hour before slicing. Don’t cut too soon or else your crumb will be too dense and chewy. Maintaining Your Sourdough Starter 2. Mix well, pop the lid on loosely and then leave in a quiet corner of your kitchen overnight or until next use. Refresh in this way every day, or transfer the jar to the fridge to slow down the fermentation, and then 2 days before baking remove from the fridge, refresh and leave overnight until you add it to your next loaf. For example, we like to have a fresh loaf on Sunday mornings, so refrigerate the starter during the week, take it out on a Friday, refresh with new flour and water (and discard anything over the 40g starter required to refresh into a new jar), leave in the kitchen overnight and then start the process on Saturday evening, to rise overnight, and bake first thing Sunday morning.
1. To a shallow bowl add: 100g rye flour + 100g bread flour + 200ml warm water, mixed until you have a smooth paste, scrape down sides with a spatula to make sure everything is nicely incorporated and then cover with a damp tea towel and leave on the kitchen counter for 48 hours.
1. Mix together in a large mixing bowl using a fork: ¼ cup active sourdough starter + 1.5 cups warm water + 1 Tbsp honey
1. After you take out enough starter to bake your first loaf of bread, transfer 40g of the remaining starter to a clean glass jar, and add in 40g plain flour + 40g luke warm water.
 Bread
Bread Breakfast and Brunch